Tag: gaming

Living the Moment (with Gaming and Consoles)

I remember seeing an Atari 2600 clone, an NES clone and a PlayStation in the late 90s and was mind blown by those consoles. I mostly saw them at my friend’s place, and although I got to play very little of it, I became a gamer in my mind just watching others play. Pac-Man, Super Mario and a whole collection of games.

Many of the games for these consoles came as cartridges or compact discs, and the best way to buy them were to go to these discreet shops in Kolkata (New Market/AC Market). You would get these pirated games for cheaper than original, which were very hard to get in the Indian markets.

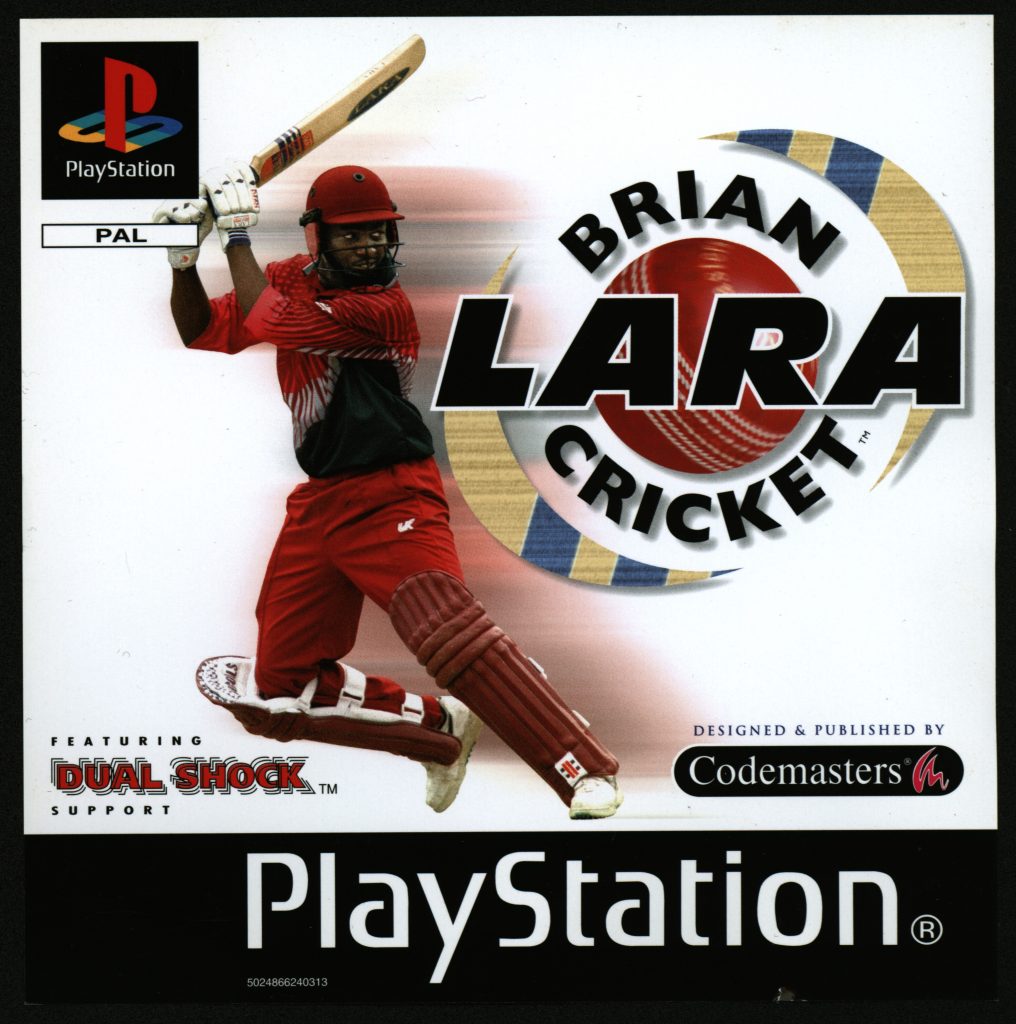
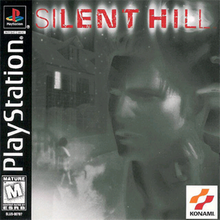
Games such as Brian Lara Cricket and football games like Winning Eleven were an immediate win, and among friends the controller would be passed around to compete against each other. There were also hits like Silent Hill, Tekken and Mortal Kombat.

There was always the alpha, the kid who probably also owned the console and was impossible to beat. That apart, I always dreamt of owning a console and playing games all day. Coming from a middle class Indian family, consoles were an impossibility – Mainly because they were costly and unaffordable. So I went to other kids house to sit and stare at others playing games.

When I got into a job and started earning in the mid 2000s, I finally could afford a console. I got myself a TV and a PlayStation 2. I bought several games like the God Of War, Need for Speed, Grand Theft Auto. Subsequently, over the years, I would go on to buy many of the consoles and handheld devices. I could afford more technology, the more I aged and moved up the corporate ladder.

The graphics of the newer consoles have increased beyond compare. The hardware now more capable, made way to incredible complexity and unique gameplay experiences. However, with all the latest jazz, what I could not get is the joy and experience I enjoyed when I was young. Even though I could get any new console or games, I was beyond the age of feeling it like how I was when I was a kid trying to play the Atari or PlayStation.

So what is the point? An experience is about living the moment. If you feel you want to do something but postpone it – perhaps to when you have money or more time, it would not be the same as when you actually wished to do it. We grow, become disinterested, or simply things change.

Best Gifts for Young Kids and their Parents: Raspberry Pi

The Raspberry Pi

If you ever wondered about the gift you would give a young nurturing mind, look no further than the Raspberry Pi.

The Pi as it is commonly called what is a Single Board Computer. They are fully functional computers having the processor, I/O, memory in the same board. For all that, they have a very small form factor. They are powerful enough to automate stuff, create robots, build internet of things or like me build retro consoles or simply be used as desktops.

I usually have a raspberry pi attached to a TV to automate household things and to play games. One particular stuff I do with it is to monitor the house cameras, download the video files, compress them and upload it to to the cloud to have free access from anywhere. The video from the camera is already dumped based on object detection and movement. Perhaps it would be an overkill to add any ML algorithm to it. That is for a later discussion.

Another useful project I have worked on is building a dashcam. Using the Pi Camera, an official add-on. It has taught me great things about image stabilization and picture processing.

It is exlilarating to see a piece of hardware work by running a few lines of code.

Children’s from all age group can enjoy the Pi. However, the raspberry pi is a crude tool designed to be used in so many things. So it is imperative as a gifter, you design the solution, install the necessary software and provide a guide for the parents. The gift works two ways –

  • It helps the parents learn the board and perhaps they will discover something they like.
  • It helps kids with cognitive growth.

The basic Pi with the full Raspbian OS comes with great tools to make hardware work and also tools for children. Raspbian comes out of the box with Scratch which can be used to visually make games and tell stories.

Besides a little older children can start learning python as a first programming language. The ease of the language will be very useful to get them into programming. The Raspberry Pi comes with great python IDEs and tools in itself. For little more advanced usage, PyGame and PyDub can be great teaching tools for visual and audio programming. Minecraft is excellent for coding and gaming.

Requirements

Usually, when I build a Pi, I build it for both parents and kids. Here is a list of things you require:

  • Raspberry Pi 3 or a Raspberry Pi 4
    • Raspberry Pi 3B is a cheap and perfectly capable board. It has 1 GB of RAM and can run the Raspbian OS.
    • Raspberry Pi 4 comes in 2 variations. the 2 GB and the 4 GB versions. These are more powerful and costlier than the Raspberry Pi 3B. The 4GB version is costlier than the 2GB version.
  • A good and cheap controller. Preferably wireless.
  • An SD card preferably 32GB.
  • Power supply for the Raspberry Pi. Power supply for the Raspberry Pi 3 is straightforward – most modern Android Mirco USB will work. The Raspberry Pi 4 is a different ball game. I like to buy the original Raspberry Pi supply for the Pi4. Here is a benchmark comparison for the Raspberry Pis
  • HDMI cable, Keyboard and mouse for the installation. I do not normally include the keyboard and mouse in the gift 🙂
  • A monitor for the installation.
  • ROMs downloaded from the internet for the console of your choice. I have a few – NES, SNES, N64 and my first console – Atari.

Installation instructions:

To not repeat myself, I will link to articles that I followed:

  1. Install the OS image to the SD card. I use Balena Etcher successfully many times.
  2. While you are at it, look for ROMs.
  3. Boot up/Configure the Pi. Install Retropie manually. I prefer the manual method.
  4. Install the ROMs to RetroPie.
  5. Set RetroPie to Autoboot – The games should be autoloaded.
  6. Configure the controller and others.

I prefer the manual installation of RetroPie over Raspbian installation, instead of using the official Retropie images. Even though it is bigger and time-consuming, Retropie can be shut down and the Pi Desktop can be used for other software.

The last step is to market the kit to the parents so that they feel enthusiastic enough to spend the time learning and teaching their kids. The instructions here are only to get you started. This isn’t a complete guide by any chance.

end.